There's an undeniable magic that happens when a homemade pie emerges from the oven, its golden crust promising a treasure trove of deliciousness within. While the filling often gets all the glory, any seasoned baker knows the true heart of an exceptional pie lies in its crust. A truly outstanding pie crust recipe isn't just a foundation; it's a star in its own right – flaky, tender, and imbued with a rich, buttery flavor that store-bought versions simply can't replicate. Forget complicated techniques or obscure ingredients; achieving pie crust perfection is within your reach, and it's simpler than you might think.
For years, many of us have yearned for that "secret" to a perfectly flaky pie crust. The good news? It's not a secret, but a combination of understanding a few key principles and embracing the joy of real, natural ingredients. This comprehensive guide will walk you through crafting the ultimate homemade pie dough, a versatile base that's not only incredibly delicious but also freezer-friendly, allowing you to get a head start on all your baking endeavors.
The Quest for the Perfect Pie Crust: All-Butter vs. The Best of Both Worlds
When it comes to the fat content in your pie crust recipe, bakers often fall into two camps: the staunch all-butter advocates and those who swear by the magic of a butter-shortening blend. Both approaches have their merits, and understanding them is key to choosing your personal path to perfection.
All-Butter Pie Crust: The Flavor Champion
An all-butter pie crust is celebrated for its unparalleled flavor and delicate texture. Real butter infuses the dough with a rich, melt-in-your-mouth taste that no other fat can quite replicate. It creates those beautiful, crisp, flaky layers that are the hallmark of a truly artisan pie. For many, the pure, unadulterated buttery essence is non-negotiable, elevating any pie, from a classic Apple Pie to a vibrant Cherry Pie, to an irresistible homemade masterpiece. While some might find an all-butter crust slightly less forgiving to roll out straight from the fridge compared to its shortening counterpart, its flavor payoff is undeniable and truly worth the effort.
Butter and Shortening: The Best of Both Worlds
Initially, many bakers, including seasoned pros, swore by all-shortening crusts for their supreme flakiness and ease of handling. Shortening is a stable fat that produces incredibly tender, sturdy dough that’s exceptionally easy to roll out, even when chilled. However, it lacks the depth of flavor that butter brings. The revelation for many came with combining the two: a match made in pie heaven. By blending butter and shortening, you harness the best qualities of each. Butter contributes its signature rich flavor and gorgeous flaky layers, while shortening ensures the dough remains wonderfully tender, sturdy, and forgiving. This hybrid approach often results in a crust that is both flavorful and incredibly easy to work with, making it a foolproof choice for any pie, sweet or savory.
To dive deeper into the nuances of these choices and help you decide which path is right for your baking style, explore our detailed comparison: All-Butter vs. Butter-Shortening: The Ultimate Pie Crust Guide.
The Science Behind the Flake: Essential Tips for Your Homemade Pie Crust Recipe
No matter which fat combination you choose for your pie crust recipe, the secret to achieving those coveted flaky layers lies in one fundamental principle: keeping everything COLD. This isn't just a suggestion; it's a golden rule that makes all the difference in texture and handling.
- Cold Fats, Flaky Layers: When your butter (and shortening, if using) remains solid and chilled during mixing, it creates tiny, distinct pieces within the dough. As the pie bakes, these cold bits of fat melt and release steam, which then pushes apart the layers of dough, resulting in that iconic, airy flakiness. If your fats are too warm, they’ll integrate too smoothly into the flour, leading to a tough, dense crust.
- Chilled Water, Relaxed Gluten: Just like your fats, the water you add should be ice cold. Cold water helps keep the fats solid and also inhibits gluten development. Overworking gluten leads to a tough, elastic dough that's difficult to roll out and prone to shrinking in the oven.
- The Art of Minimal Handling: Resist the urge to overmix or overwork your pie dough. The goal is to bring the ingredients together just enough to form a cohesive dough, leaving visible bits of fat. Overmixing develops gluten unnecessarily, making your crust tough instead of tender.
- The Power of Chilling: After mixing, chilling your dough for at least 30 minutes (or even an hour in the freezer) is crucial. This step does several things: it allows the fats to firm up even further, making the dough easier to roll without sticking; it gives the gluten time to relax, preventing shrinkage during baking; and it consolidates the flavors. This chilling period is so vital, we’ve dedicated an entire resource to it: Flaky Pie Crust Secrets: Cold Butter, Chilling, & Easy Steps.
Using simple, natural ingredients – good quality flour, real butter (and/or shortening), a touch of salt, and ice water – ensures the best flavor and texture. This approach to your pie crust recipe is all about honoring the ingredients and understanding their roles.
Mastering Your Homemade Pie Crust: From Dough to Dazzling Rim
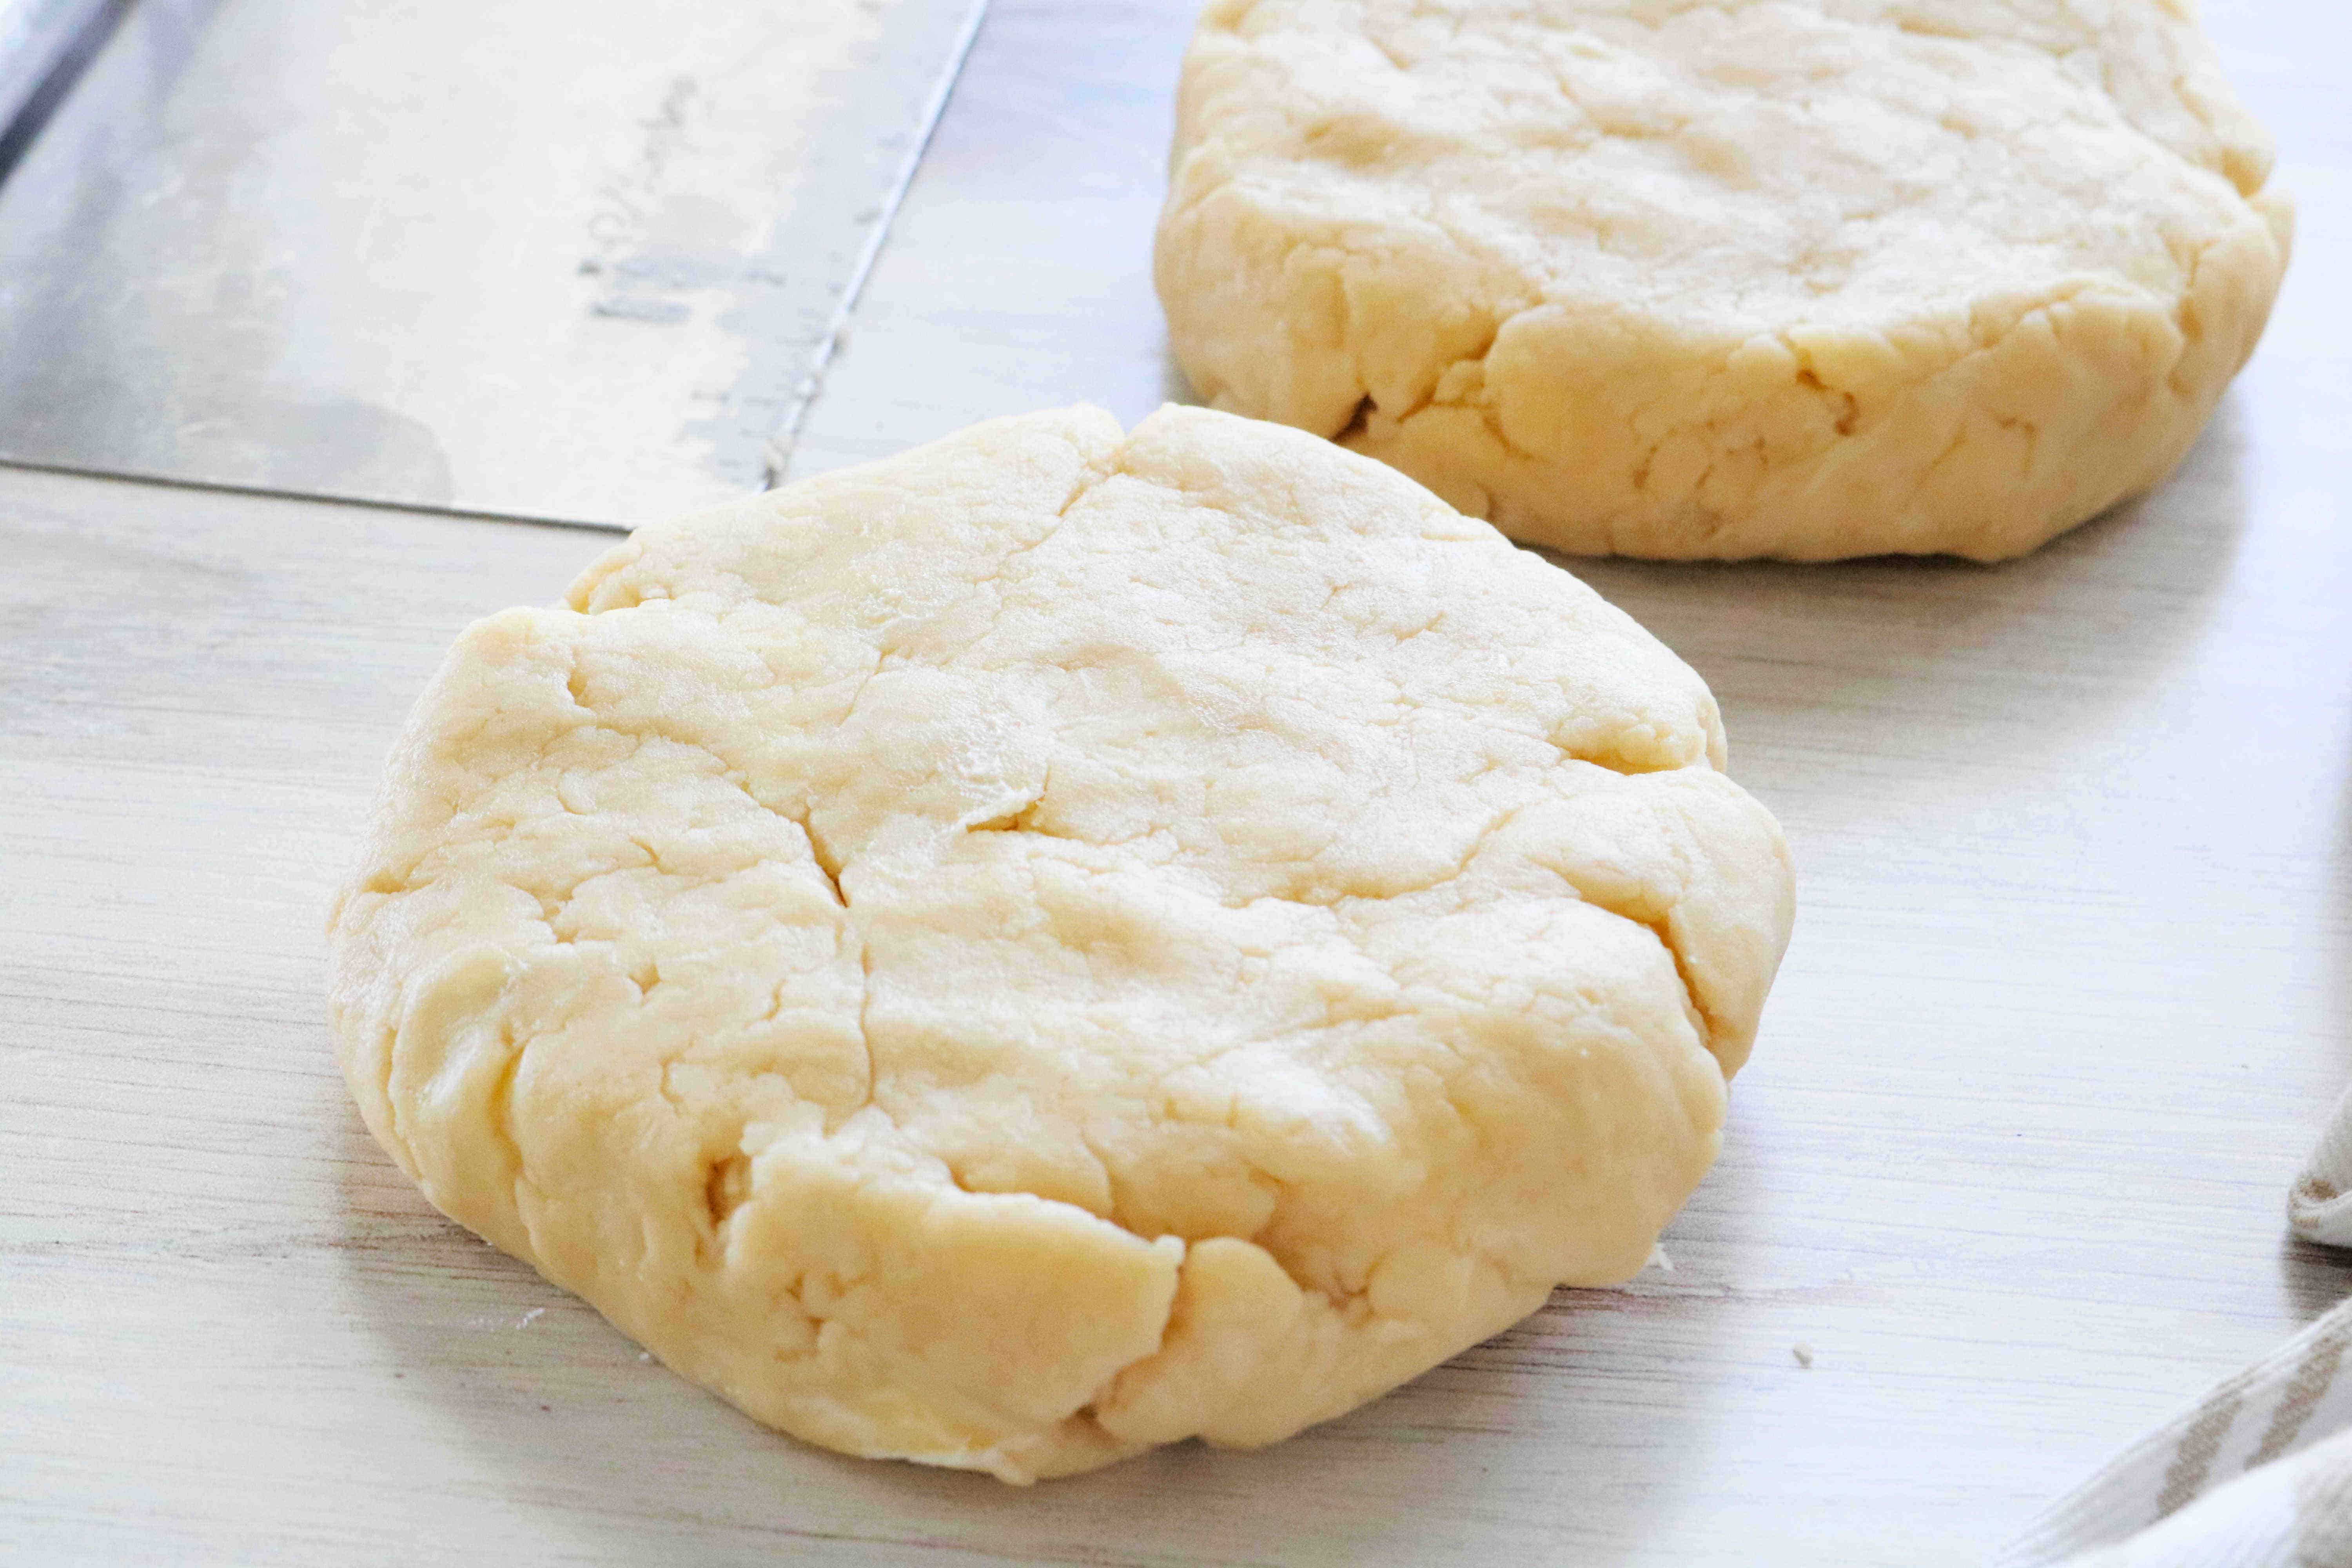
Once you've successfully prepared your perfect pie dough, the next steps involve shaping it into a beautiful crust. This pie crust recipe typically yields enough for two single crusts or one double-crust pie, giving you flexibility for various baking projects.
- Rolling with Ease: When you're ready to roll, remove your chilled dough from the refrigerator. If it's too firm, let it sit at room temperature for 5-10 minutes to soften slightly, but don't let it get warm. Lightly flour your work surface and rolling pin. Roll from the center outwards, rotating the dough frequently to prevent sticking and ensure an even thickness. Aim for a circle about 12-13 inches in diameter for a standard 9-inch pie plate.
- Effortless Transfer: Carefully transfer the rolled dough to your pie plate. The easiest way is to gently roll the dough around your rolling pin and then unroll it over the plate. Alternatively, fold it in half, then in half again to form a quarter circle, place the point in the center of the pie plate, and unfold. Gently press it into the bottom and sides of the plate, being careful not to stretch the dough, which can lead to shrinkage.
- Creating a Fluted Rim: This is where your homemade pie truly gets its signature look. Trim the edges of the dough to about a 1/2-inch overhang. You can then fold this overhang under itself, creating a thicker edge. To flute, use the thumb and forefinger of one hand to pinch the dough from the inside, while using the index finger of your other hand to push the dough in from the outside. Repeat around the entire rim. There are many variations, from simple fork presses to intricate braids – choose what makes you feel like a "Martha Stewart" (or rather, a 'Natasha's Kitchen' pro!).
- Pre-Baking (Blind Baking): Some pie recipes, especially those with wet fillings like quiches or custard pies, call for a pre-baked or blind-baked crust. This prevents a soggy bottom. To do this, prick the bottom of the unbaked crust with a fork, line it with parchment paper, and fill it with pie weights, dried beans, or rice. Bake according to your recipe's instructions until the edges are golden and the bottom is set. Remove weights and parchment paper for the final few minutes of baking if needed.
This versatile pie crust recipe is perfect for everything from your Thanksgiving Pumpkin Pie to a savory Chicken Pot Pie. The pride of knowing you made it from scratch truly elevates the entire baking and eating experience.
Freezer-Friendly Perfection: Preparing Ahead with Your Pie Crust Recipe
One of the most appealing aspects of a reliable pie crust recipe is its freezer-friendly nature. This capability transforms homemade pie baking from a last-minute scramble into an organized, stress-free delight, especially during busy holiday seasons like Thanksgiving and Christmas.
- Refrigeration: Unbaked pie dough can be kept fresh in a zip-top bag or tightly wrapped in plastic in the refrigerator for up to two days. This is perfect for making dough the day before you plan to bake.
- Freezer Storage: For longer storage, your pie dough is a holiday staple to keep on hand in the freezer. Wrap individual discs of dough tightly in plastic wrap, then place them in a freezer-safe zip-top bag. It can be stored this way for up to three months. Imagine having a few rounds of homemade pie dough ready to go weeks or even months ahead of time – it’s an easy way to get a significant head start on holiday baking!
- Thawing Instructions: To thaw frozen pie dough, transfer it to the refrigerator for about 4 hours. If you're in a bit of a hurry, you can let it sit at room temperature for about 1 hour before rolling it out. Always ensure the dough is still cool to the touch when you begin rolling to maintain those crucial cold fats.
Batch preparing your favorite pie crust recipe and freezing the dough is a fantastic strategy. It allows you to whip up homemade pies with minimal effort when the mood strikes or when unexpected guests arrive, making you feel incredibly prepared and accomplished.
There’s a profound satisfaction that comes with creating a beautiful, delicious pie from scratch, and it all begins with the crust. This comprehensive pie crust recipe provides you with the knowledge and confidence to achieve flaky, buttery perfection every single time. By understanding the roles of cold ingredients, mastering rolling and shaping, and utilizing the convenience of freezer storage, you’re not just baking a pie – you’re crafting a memorable experience. So, roll up your sleeves, embrace the joy of homemade, and prepare to impress everyone with your irresistibly delicious pies!
